Message signatures can be generated with any arbitrary message and an Ethereum wallet’s private key. Message signatures can be used to create a verification system for any application requiring a user to prove their identity. For example, you might consider using this tutorial to create an application allowing users to e-sign documents or pdfs. Creating and verifying signatures does not require a connection to the Ethereum network because it utilizes a message, wallet address, and private key to generate a signature hash. This means the entire process can occur off-chain and does not cost any gas to execute.
In part one of this tutorial, we will explore how a signature can be generated and verified using the Alchemy SDK, the Web3.js library, or the Ethers.js library.
In part two, we will build upon what we learned in part one to build a full-stack signature generation DApp using ReactJS. With Ethers.js, we will use the provided starter files to create a frontend UI that lets you connect to a MetaMask wallet to sign/verify messages.
🚧Note:
Part two of this tutorial will not cover ReactJS. We will only focus on the functionality necessary to connect the frontend UI to MetaMask. Therefore, you should have an understanding of React and React hooks such as useState and useEffect.
Prerequisites
Before you continue in this tutorial, please ensure that you have accomplished the following:
- Install Node.js.
- Install a MetaMask browser wallet.
- Install an IDE (such as VS Code).
- Create an Alchemy account.
Install Node.js
Head to Node.js and download the LTS version.
You can verify your installation was successful by running npm -version in your macOS terminal or Windows command prompt. A successful installation will display a version number, such as:
Shell
6.4.1
Install MetaMask
Install MetaMask, a virtual wallet extension used to manage your Ethereum address and private key.
Install an IDE
A development environment makes editing code in our project much easier to navigate. If you would like to follow along with exactly what I am using for this tutorial go ahead and install Visual Studio Code. However, feel free to use whatever development environment you prefer.
Connect to Alchemy
Although we are not sending any transactions on-chain, we will still use an Alchemy API key so we may monitor on-chain functionality if we so choose to add it in the future.
- Create a free Alchemy account.
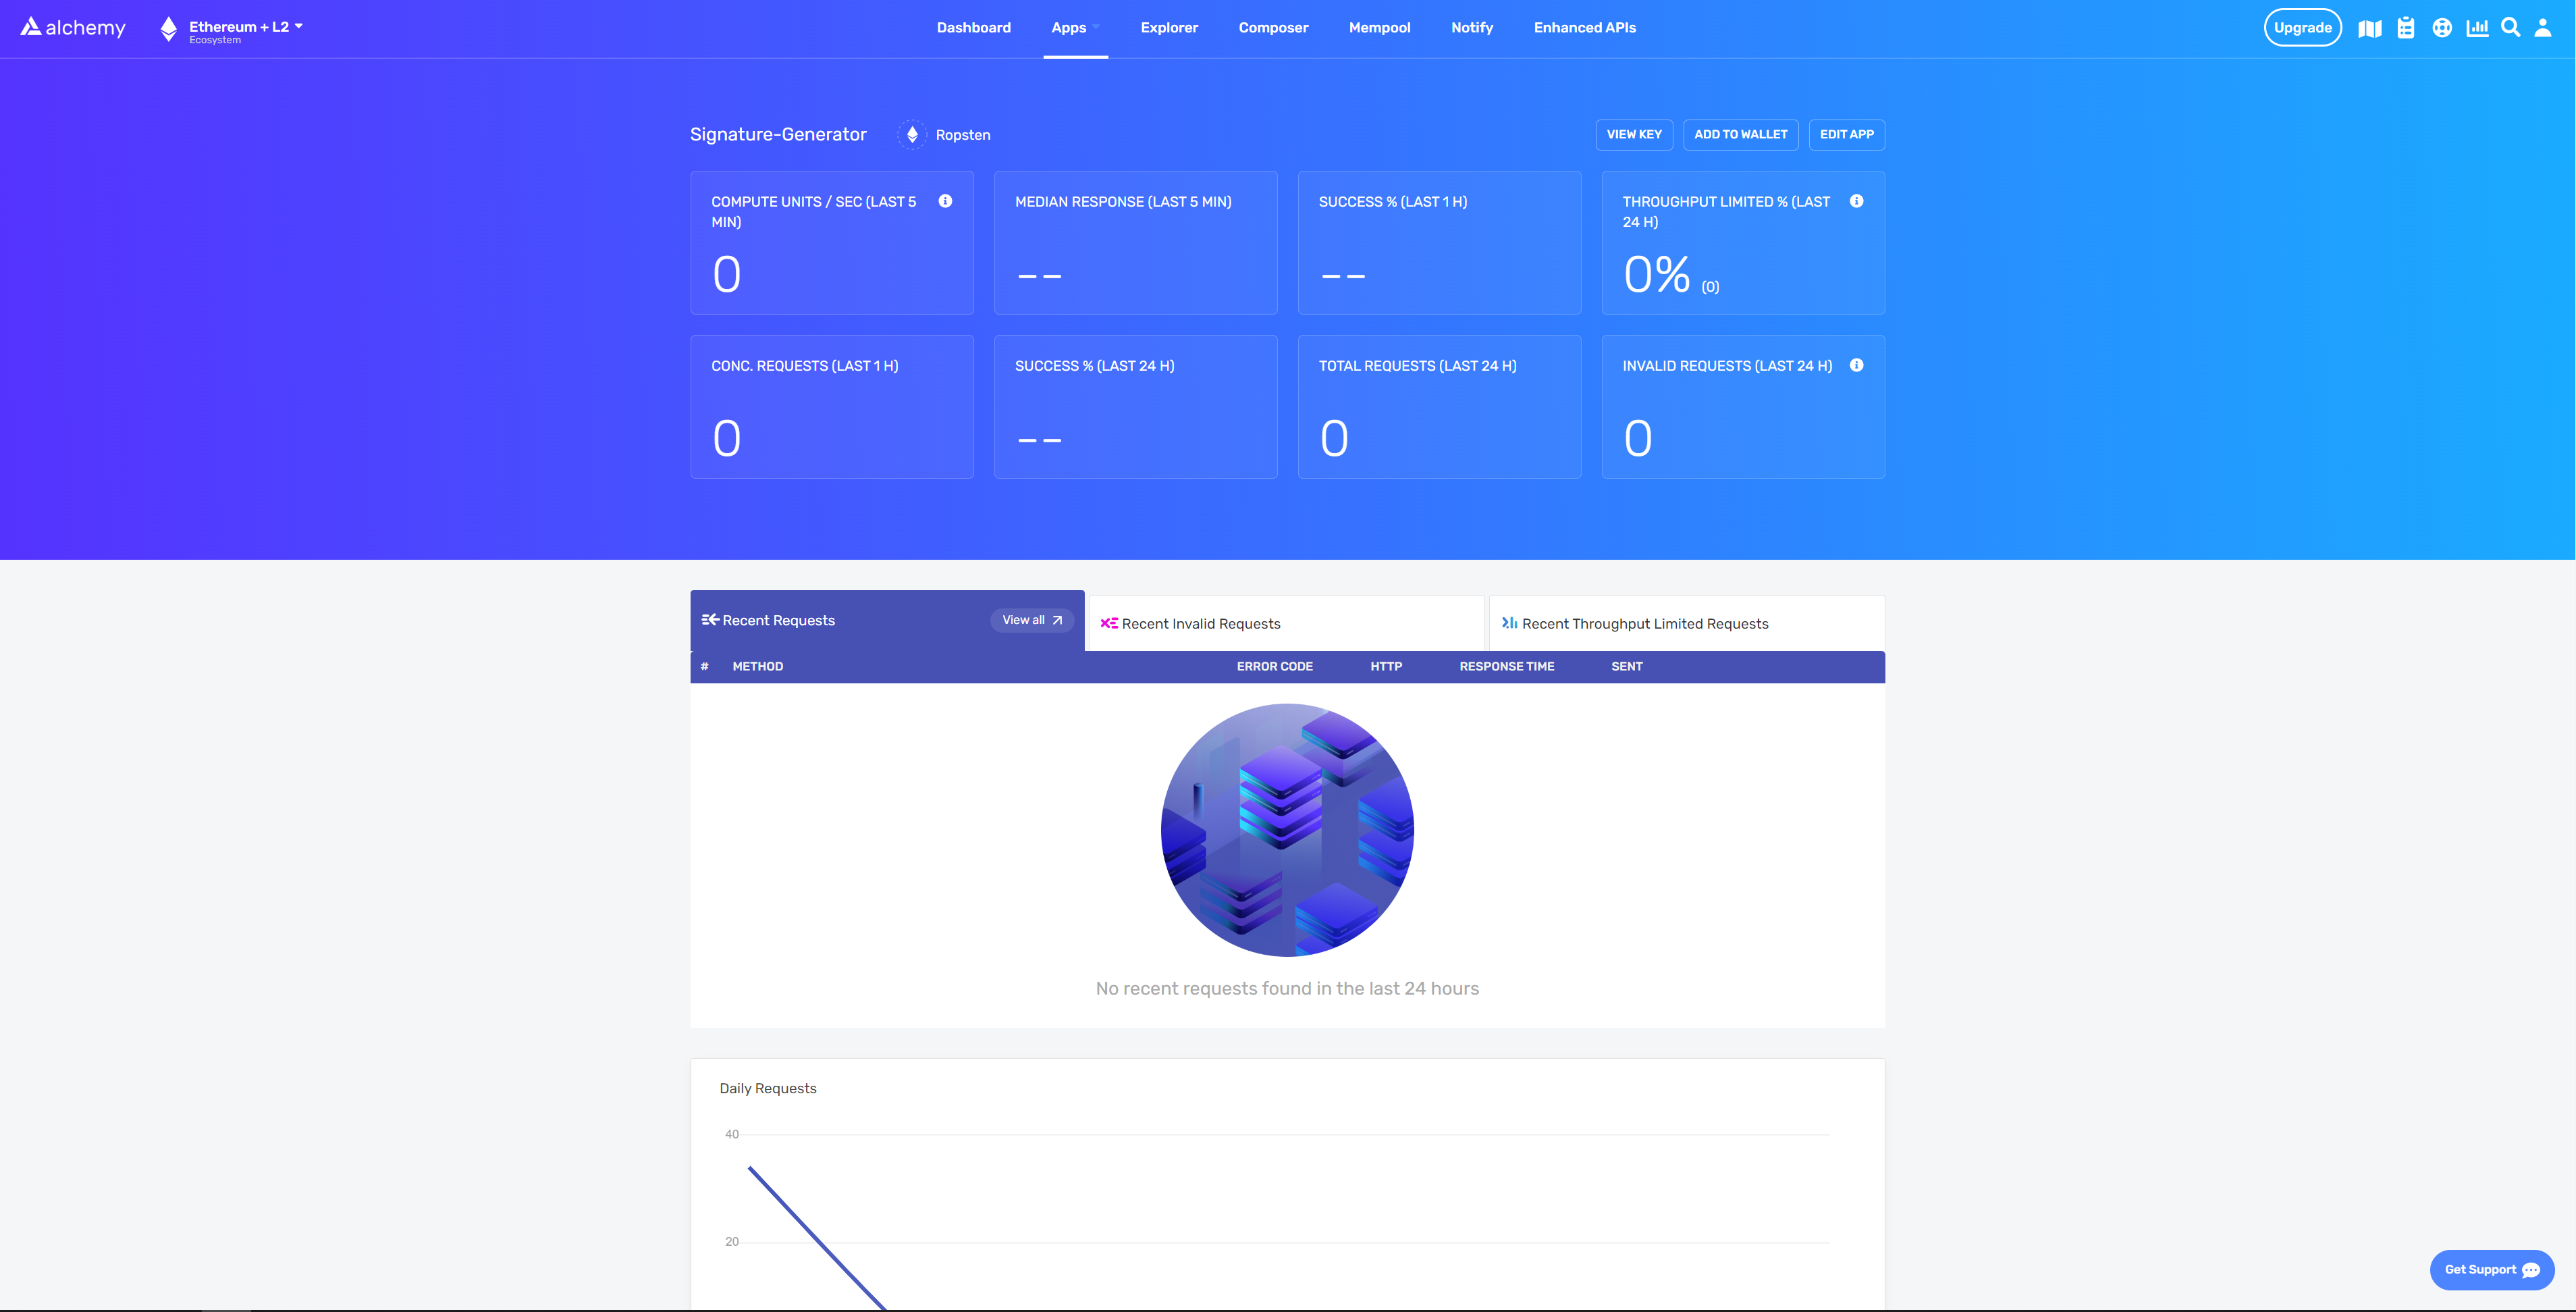
- From the Alchemy Dashboard, hover over Apps then click +Create App.
- Name your app Signature-Generator.
- Select Ethereum as your chain and Sepolia as your network.
- Note: Because this tutorial does not perform any on-chain activity, you could use any testnet.
- Click Create app.

Setup Project Environment
Open VS Code (or your preferred IDE) and enter the following in the terminal:
Shell
mkdir my verify-msg-signature
cd verify-msg-signature
Once inside our project directory, initialize npm (node package manager) with the following command:
Shell
npm init
Press enter and answer the project prompt as follows:
JSON
package name: (signature-generator)
version: (1.0.0)
description:
entry point: (index.js)
test command:
git repository:
keywords:
author:
license: (ISC)
Press enter again to complete the prompt. If successful, a package.json file will have been created in your directory.
Install environment tools
The tools you will need to complete this tutorial are:
- Alchemy's SDK.
- Alchemy’s Web3 library.
- Ethers.js to utilize their cryptographic functions and create unique signatures.
- dotenv so that you can store your private key and API key safely.
To install the above tools, ensure you are still inside your root folder and type the following commands in your terminal:
Alchemy SDK:
Shell
npm install alchemy-sdk
Alchemy’s Web3 library:
Shell
npm install @alch/alchemy-web3
Ethers:
Shell
npm install --save ethers
Dotenv:
Shell
npm install dotenv --save
Create a Dotenv File
Create an .env file in your root folder. The file must be named .env or it will not be recognized.
In the .env file, we will store all of our sensitive information (i.e., our Alchemy API key and MetaMask private key).
Copy the following into your .env file:
.env
API_URL = "https://eth-sepolia.g.alchemy.com/v2/{YOUR_ALCHEMY_API_KEY}"
PRIVATE_KEY = "{YOUR_PRIVATE_KEY}"
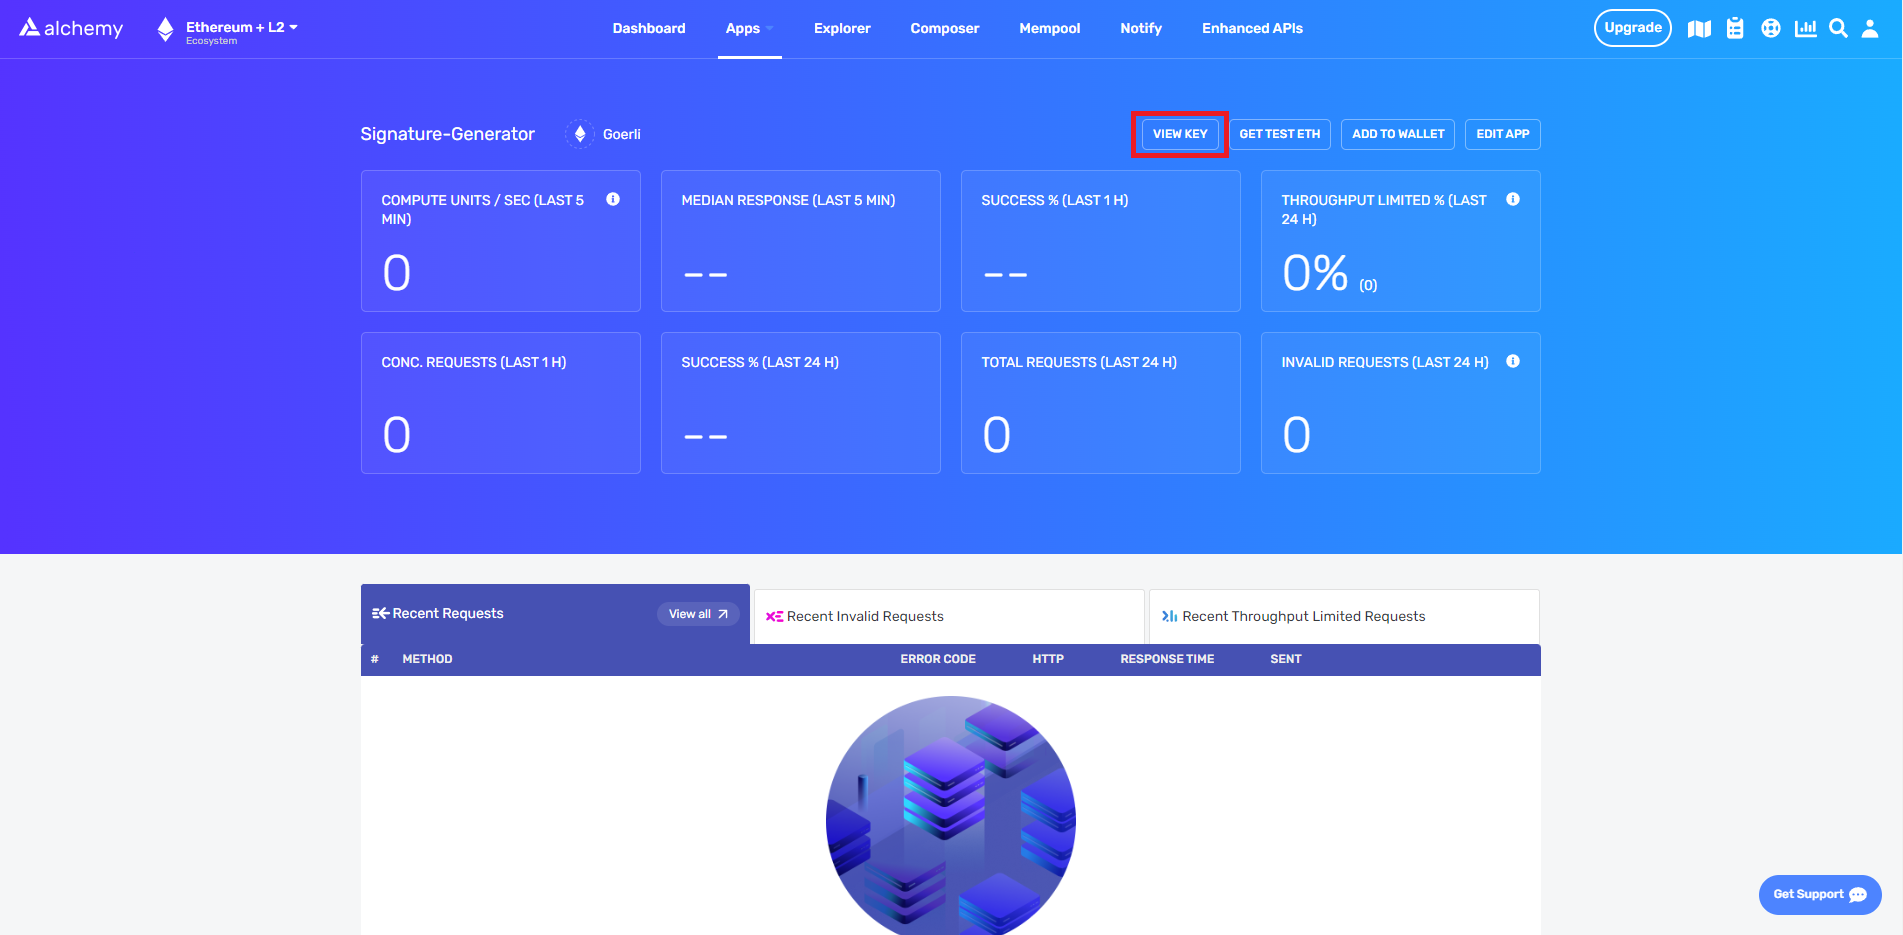
- Replace {YOUR_ALCHEMY_API_KEY} with your Alchemy API key found in your app’s dashboard, under VIEW KEY:

- Replace {YOUR_PRIVATE_KEY}with your MetaMask private key.
To retrieve your MetaMask private key:
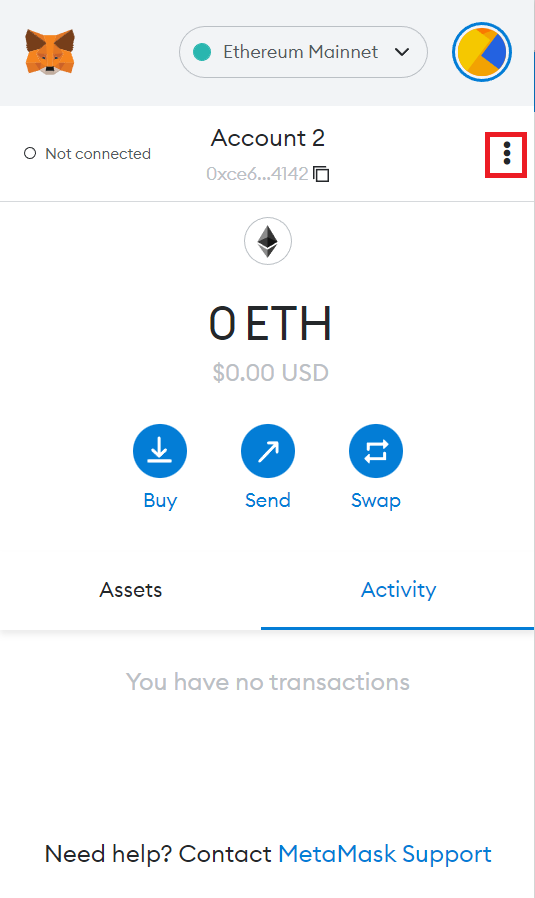
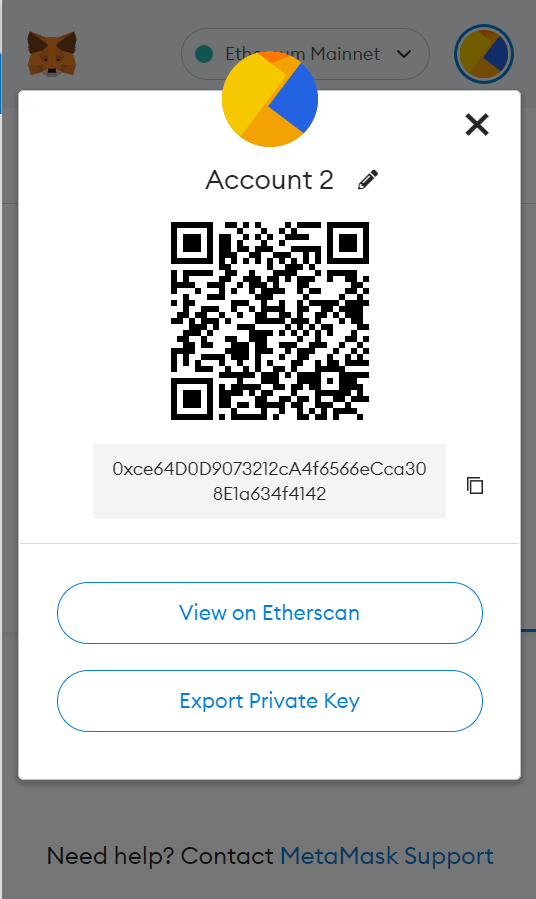
- Open the extension, click on the three dots menu, and choose Account Details.

2. Click Export Private Key and enter your MetaMask password.

3. Replace the Private Key in your .env file with your MetaMask Private Key.
Verify Message Signatures
The following section provides three options for verifying message signatures:
- Using the Alchemy SDK with Ethers.js.
- Using the Web3.js library.
- Using just the Ethers.js library.
Depending on your preferred library, feel free to use the appropriate tabs.
In your root folder create a file named AlchemySDK-VerifyMsg.js and add the following lines of code to it:
AlchemySDK-VerifyMsg.jsAlchemy-web3.jsEthers.js
const main = async () => {
require("dotenv").config();
const { API_URL, PRIVATE_KEY } = process.env;
const { ethers } = require("ethers");
const { hashMessage } = require("@ethersproject/hash");
const { Network, initializeAlchemy } = require("alchemy-sdk");
const settings = {
apiKey: API_URL,
Network: Network.ETH_SEPOLIA,
};
const alchemy = new Alchemy(settings);
const ethersAlchemyProvider = alchemy.config.getProvider();
};
main();
The code above creates an asynchronous function that contains the necessary variables to start using Alchemy's provider with Ethers. Below, you can see the same code with commented explanations at each step:
AlchemySDK-VerifyMsg.jsAlchemy-web3.jsEthers.js
const main = async () => {
require("dotenv").config();
// Imports the secret .env file where our Private Key and API are stored
const { API_URL, PRIVATE_KEY } = process.env;
// We can now use these aliases instead of using our actual keys.
const { ethers } = require("ethers");
// Importing Ethers library
const { hashMessage } = require("@ethersproject/hash");
// Importing the hashMessage function which takes a string and converts it to a hash
// We need this because the Ethers sign function takes a message hash
// Note: We do not need this when using the Web3 library because the sign function automatically converts the message into a hash
const { Network, initializeAlchemy } = require("alchemy-sdk");
// importing Alchemy SDK
const settings = {
apiKey: API_URL,
Network: Network.ETH_SEPOLIA,
};
const alchemy = new Alchemy(settings);
// initializing Alchemy SDK with our settings config
const ethersAlchemyProvider = alchemy.config.getProvider();
// Creates a new provider instance with Alchemy to make requests using our API
};
main();
In the same function, create a message to sign and a wallet instance, then use the wallet to both:
- Sign our message with the Ethers signMessage function.
- Verify it with recoverAddress.
The following code accomplishes the above and describes each action with commented notes:
AlchemySDK-VerifyMsg.jsAlchemy-web3.jsEthers.js
const message = "Let's verify the signature of this message!";
// Message we are signing
const walletInst = new ethers.Wallet(PRIVATE_KEY, ethersAlchemyProvider);
// Unlike Web3.js, Ethers seperates the provider instance and wallet instance, so we must also create a wallet instance
const signMessage = walletInst.signMessage(message);
// Using our wallet instance which holds our private key, we call the Ethers signMessage function and pass our message inside
const messageSigner = signMessage.then((value) => {
// Because Ethers signMessage function returns a promise we use .then() to await the fulfilled promise
const verifySigner = ethers.utils.recoverAddress(hashMessage(message),value);
return verifySigner;
// Now we verify the signature by calling the recoverAddress function which takes a message hash and signature hash and returns the signer address
});
📘Web3.js Alternative
When using web3.js you can alternatively use the following to verify a message signature:
Web3.js Sign Alternative
const messageSigner = web3.eth.accounts.recover(message, signMessage.v, signMessage.r, signMessage.s);
Great! Now, we should add tests to check whether our message was signed and verified correctly.
The following code is the entire script with the checks:
AlchemySDK-VerifyMsg.jsAlchemy-web3.jsEthers.js
const main = async () => {
require("dotenv").config();
const { API_URL, PRIVATE_KEY } = process.env;
const { ethers } = require("ethers");
const { hashMessage } = require("@ethersproject/hash");
const { Network, initializeAlchemy } = require("alchemy-sdk");
const settings = {
apiKey: API_URL,
Network: Network.ETH_SEPOLIA,
};
const alchemy = new Alchemy(settings);
const ethersAlchemyProvider = alchemy.config.getProvider();
const message = "Let's verify the signature of this message!";
const walletInst = new ethers.Wallet(PRIVATE_KEY, ethersAlchemyProvider);
const signMessage = walletInst.signMessage(message);
const messageSigner = signMessage.then((value) => {
const verifySigner = ethers.utils.recoverAddress(hashMessage(message),value);
return verifySigner;
});
try {
console.log("Success! The message: " +message+" was signed with the signature: " +await signMessage);
console.log("The signer was: " +await messageSigner);
} catch (err) {
console.log("Something went wrong while verifying your message signature: " + err);
}
};
main();
To use your script, type the following command in your terminal:
Shell
node AlchemySDK-VerifyMsg.js
If successful, the message signature hash and signer address should return something like the following:
Shell
Success! The message: Let's verify the signature of this message! was signed with the signature: 0x16a08da8a50dc4ec2abf080528440821fc749323c69b6d38d88b8dedc03961772a7da6a2c74fcbde325085e552fcb197673e2a4741189bd6f9d9e1d07236c37c1b
The signer was: 0x5DAAC14781a5C4AF2B0673467364Cba46Da935dB
Awesome! You successfully signed a message and verified its signature!
You now know how to verify message signatures using Web3.js and Ethers.js. Check out part two to learn how to create a signature generator DApp and verify signatures using MetaMask!


